Tuesday, June 2, 2015

Thank you from the UAV Team

2014-15 PLTW Digital Electronics Class and UAV Flight Team
Back Row (L-R) Jacob, Ben, Danny, Vince, Max, Joe and Joel
Front Row (L-R) Ian, Will, Katie, Alex and Grant
Not pictured: Inst. Mr. Steve Johnston, Logan Technology & Engineering Department
As the school year comes to an end, the UAV Team would like to thank the following people and organizations.


  • La Crosse Public Education Foundation (Judy and Randy Eddy Sr. Fund)-financial sponsor for this project.
  • Dairyland Power-(Ed West and Denny Hoskins) hosting our first meeting and providing the technical parameters of the project.
  • Dave Foye-Engineering guest speaker
  • Justin Pitz-Graphic Arts class designed UAV decals
  • Dean Loefler (DMC staff)-finding us some old PC laptops
  • Annette O'Hern-purchased a Phantom DJI in 2014 for us to begin pilot training with.
  • Adminstrative staff at Logan HS-Dr. Markos, Mr. Gnewikow and Mr. DePaolo

Screen shot of  the ground station software we use for mission planning. This works on a mobile device or laptop.


Friday, May 29, 2015

Field Test 5.28.15

Flight Test-Along Power Lines in the Field
Date: 5.28.15
Time: 6:28 PM (needed about 20 min. to set everything up)
Wind Speed S 10 mph
Visibility 10.00 mi
Temp 79°F (26°C)
Location: Spring Coulee, Genoa


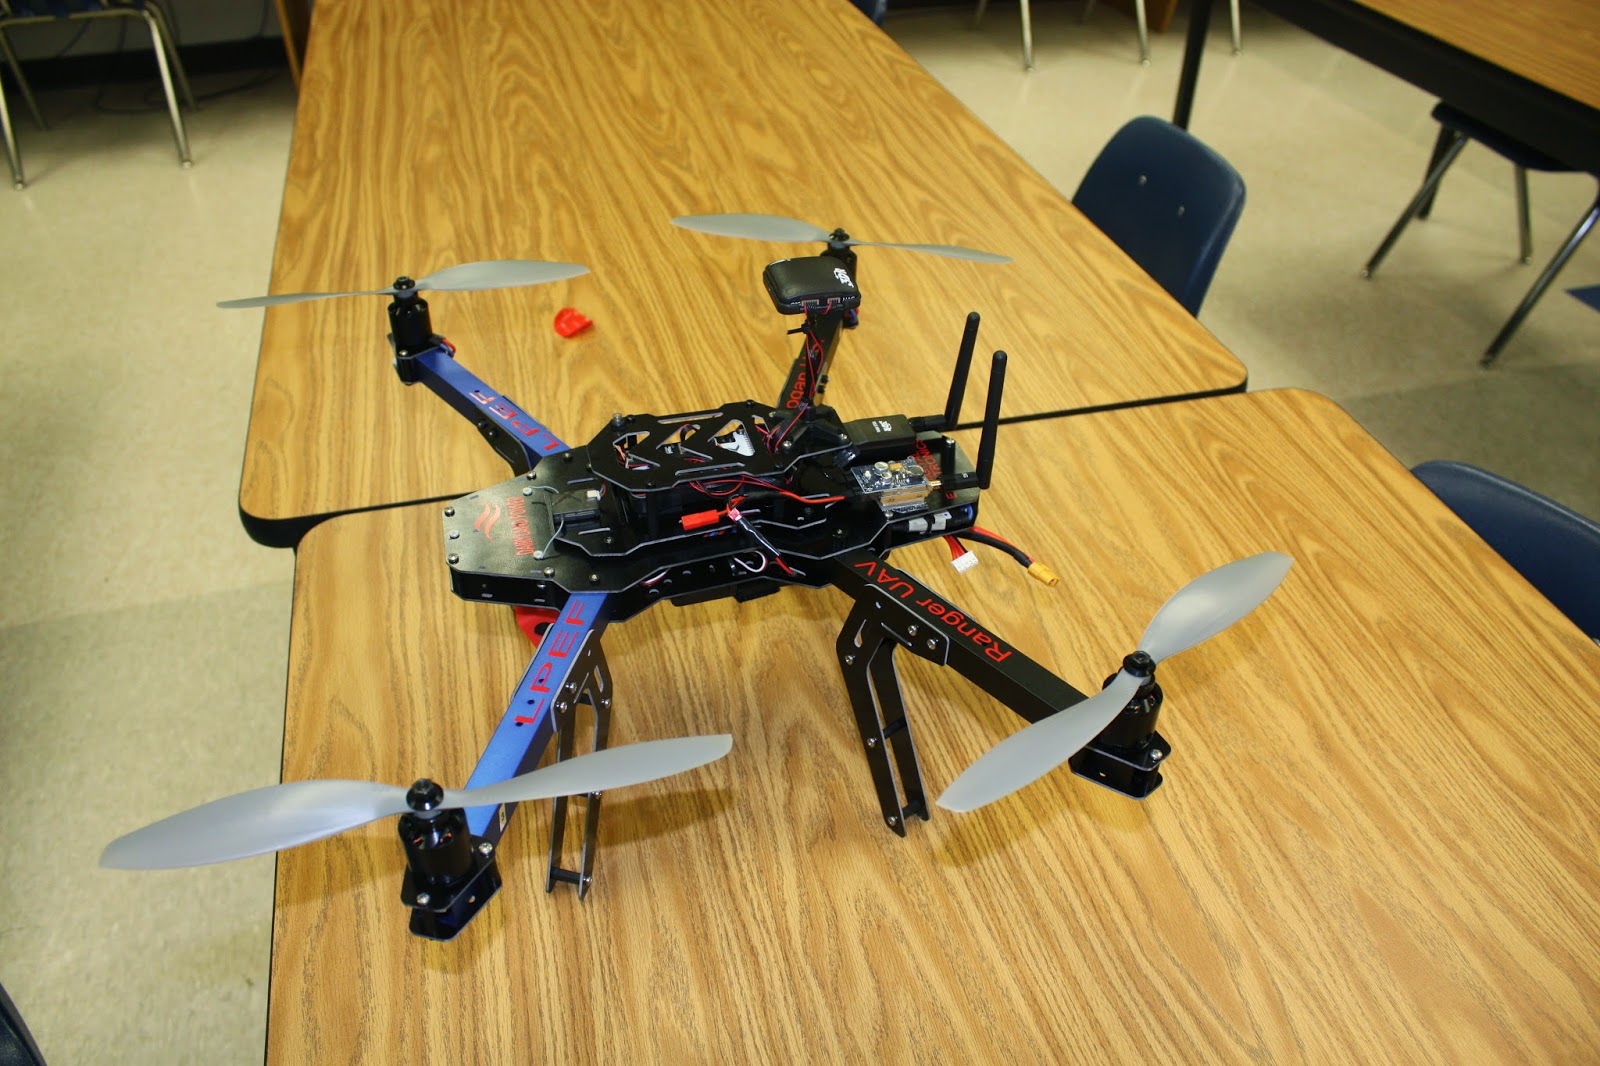
Very informative field test tonight. We wanted to test the UAV in a rural area along real power lines. From the start the UAV had problems getting a GPS lock which is required for Auto Missions and some of the other modes such as Loiter and RTL. It would get a signal and then
sometimes lose the signal between arming the UAV and it even lost the GPS signal in flight which caused it to emergency land. This flight test was very short as a result of that loss of signal, but a lot was learned from it.

The in flight loss of signal is one we worry about. If the UAV loses a  signal during a mission it is set to land immediately. We felt this was the safest setting for our use. The problem with that setting, is it lands way too fast..borderline crash. When we had the loss of GPS signal occur the UAV immediately landed as it was calibrated to do. Fortunately it kept upright and buried its legs in the soft grass. No apparent damage to the UAV at this point.

We checked a handheld GPS unit and found in this rural area 4 sats could be found with only 3 strong signals the 4th was very weak. By comparison on the practice fields at Logan HS we can get 11 sats, however, as we walk closer to the school that diminishes down to 7 sats. The recommendation is to have at least 5 sat signals. That way if you lose one, you have 4 others that can still provide guidance.

Recommendations as a result of the field flight test:
1. GPS lock is essential for auto missions. In coulees and valleys around the area, GPS signals can be sporadic because they may lack a "clear view of the sky". A loss of signal could result in damage to the UAV or property if it lands immediately. GPS units do not work well in cities with tall buildings, valleys, canyons, heavy tree canopy, etc... The GPS unit on our UAV uses more sophisticated algorithms that a GPS used in a car so we found out it is essential for it to acquire at least 5 sats before takeoff.
2. Change loss of GPS signal setting on UAV to "AltHold" instead of "Land" this will allow the UAV to stay in the air hovering where it lost the signal until the pilot can switch to "Stabilze" mode and take over the flight manually.
3. Improve the quality of the GPS system to find satellites. This would allow for more confidence in Auto Missions.
4. Improve the quality of the camera. That way the UAV can fly higher to keep out of valleys and use the camera to zoom in on the power lines. It would also keep it out of the trees or other vegetation along the power lines.


*Update5.29.15*
After getting the UAV back to school the morning of the 29th, we put a meter on the battery to check the voltage. It registered at 8 volts (14.8 V when fully charged). This was very low and probably contributed to why the UAV landed as such a high rate of speed. Not sure what caused the battery to drain that fast as the time in the air was minimal.

Wednesday, May 27, 2015

Flight Test 5.27.15

Flight Test
5.27.15
Time: 3:20 PM (1.5 hours)
Location: La Crosse Logan HS
Temp: 82 degrees
Wind speed: 9 mph

The purpose of this short flight test was to test the replacement props, range and quality of the FPV system and the recalibration of the motor controllers.

We are also going to begin documenting temperature and wind speed to see what impact is has on battery life. Today we started with a full battery charge and after 3 min. of flying with the FPV system wired to our battery, it still metered at 15.2 V. As a result, we feel we can begin safely moving the UAV farther away from our take off point. We also reset our battery threshold warning at 12 Volts. If the battery sensors indicate the UAV has drained the battery down to 12 V, regardless of where the UAV is at, it will return to the launch point. We had the threshold at the default 11 V and when our battery ran down, the UAV began to RTL, but landed hard because it did not have enough battery left to support a slow and soft landing. We felt increasing the threshold would better support the distance the UAV had to travel back to the RTL if it hit the battery threshold.

We had to replace two props. One was badly damaged, (as you can see in the previous post) the other had minor damage and was replaced as purely a maintenance issue. The UAV performed well with the new props installed. The motor controllers also seem to be calibrated correctly.

The FPV system has been tested for function but not for distance as we did in this test. We found as we flew in any direction under power, the live video on our tablet began to get distorted. When the UAV would loiter (hover) in the air, the picture would become clearer. It could be that when under load, the motors are generating more radio frequency interference which may be distorting the signal slightly. We do not feel our FPV setup is going to support a great distance for video. We would need to invest in a high gain antenna.


Field Test 5.22.15

Field Test
Date: 5.23.15
Time: 7:15 PM
Location: Genoa/Stoddard Area-Rural Power Line from Dairyland Power

This was a short test. Upon takeoff the UAV flipped 12-16" above ground and snapped off the tip of a prop which halted the field test until we can put on a different prop and recalibrate the ESC's at school. The grassy takeoff area must have had a piece of gravel or rock near the surface to cause this damage.

We have had the UAV flip upon takeoff before. In evaluating the problem in the past, we determined that the causes are one of the ESC's needed to be recalibrated or pilot error. For example, when the pilot applies throttle at takeoff, it is essential that no other controls are initiated until the UAV is a safe distance above ground with room to maneuver. We are learning that after a crash, we need to recalibrate the ESC's if one of the props comes in contact with the ground as a precaution regardless if there is damage to the prop or not.

We are a little surprised at the lack of durability of the props. We compare the props on the UAV to our Phantom Copter which has never had a broken or severely damaged prop after a crash. The UAV props appear to not be as thick (to save weight) which may cause them to be more fragile.

Concerns:
1) We need a positive weather window to continue the field test. It looks like the weekend may be sunny so as long as we do not have a wind we can attempt another field test.
2) Props and batteries: We are down to our last spare prop which will get us in the air. Extra props are on backorder along with our spare battery. No indication on when they will be shipped. If we have prop damage again, we will have to halt testing until the shipment arrives.

The pen points to the damaged prop tip.

Future goal:
Attempt another field test along a power line in a rural area Friday night or this weekend dependent upon weather.

Friday, May 22, 2015

Work on Thermal Camera 5.22.15

5.22.15
Time: 2 hours
Joel and Max

Our two Seniors decided to come back in to school today to work on the thermal camera on their day off. They are doing a great job of leading by example and they deserve a pat on the back for their efforts.

As background information, Dairland Power asked if we could investigate a thermal camera which could be mounted onto the UAV to inspect the transmission lines. This would detect high resistance areas (which would appear hot to the thermal camera) like bad connections. Thermal imaging has become a core predictive maintenance tool in ongoing inspection programs to help prevent possible outages.

We have not spent much time working on our thermal camera. With the UAV in the final testing stages, switched our focus on finishing up the thermal camera.

We originally wanted to mount the camera on the UAV, however, when we looked at the cost to minimize our design we felt this was way out of our budget. Commercial models sell for $10,000. We still wanted to see what we could do so we found a schematic online for a thermal camera. With the parts we purchased on eBay and other locations, we kept the price under $160. Please note that this design will be too big to mount on the UAV. It is well outside of our budget to miniaturize it.

We had done quite a bit of testing of the design on a breadboard a couple months ago, so now we just had to solder everything to the prototype board.

Below is the schematic for the thermal camera idea we found at Central Nexus Thermal Cameras. Now we just had to build it and get the code to work on our Arduino.

Add caption
Solding up a prototype shield with our inputs to the camera. We are using a Cat5 cable as our wiring harness. The thermal sensor will be moved by two servo motors controlled by the Arduino.

We bought a $10 Microsoft webcam on ebay and are using it as our camera source.

Cutting out a plastic box with holes/opening for all of our cables.

Here you see the top of the case with a servo motor mounted. We had to do some extensive modifications to the case to make it all fit.

The most expensive part on our camera is the MELEXIS Compensated Infra Red Thermometer. This cost $60. It is has some nice features for the price, operates on 3-5 volts and can sense  0 - 50 degrees C. We also had to solder in a logic converter to go from 3.3 volts to 5 volts. This helps us go from the Arduino to the Melexis.


Future Goals:
We will complete the assembly next week and test it out. We plan to use a hand warmer behind a wall to see if it will detect the thermal image.


Thursday, May 21, 2015

Work night 5.20.15

Work Night 5.20.15
Time: 3 hours
Students: Grant and Max

The goals for tonight was to get the Live View system working test it out and set up the UAV in guide mode. We then wanted to run a mission being controlled by only and Android based device.

In the photo below you see the UAV with GoPro mounted in front. The red frame holding the GoPro to our UAV was made in our 3D Printer at Logan.


In the photo below you see the UAV now with two black antennas in the right rear of the copter. The one closed to you is the FPV system. The one farthest away is for telemetry and navigation.


In the video below you see flight test #3. The main goal here was to get the First Person View system in the air and tested. The image we received on our hand held device was a clear video signal for the most part. Some distortion occurred at times but overall, pretty good. We also had another quadcopter in the air to film our UAV. You will see some brief footage of a flyover. Using GoPro's with a fish eye lens does not allow for close film footage so some of the video seems far away.


The video below shows our most important test with the UAV to date. We downloaded an App which allows us to set up GPS waypoints on an Android device. This was to simulate the GPS coordinates of power poles. We established a base line elevation although that can be changed also. The takeoff, flight path and landing were all controlled by the Android phone. This was one of the features Dairyland Power wanted us to investigate. We were very pleased with the results of the test! Everything went as planned.


Our future goals will focus on a field test which will be done this weekend. Battery life is an issue as we ran our battery out within 10 min of flight. We are also powering our FPV system by the same battery so we need another power source for that.

*NOTE*
On 5.18.15 we did a short flight test to check the ESC calibration as we had problems the last time we did a flight. The day was overcast and winds were 20 mph. The flight was short but the UAV handled the windy conditions well. We normally would not fly on that windy of a day, but we had to test the ESC's before our work night this week and we wanted to document vehicle control on a windy day. One thing we found out is we really burned down battery life on a windy day. It seems the UAV has to work twice as hard to stabilize, especially when landing.


Sunday, May 17, 2015

Industrial Applications for UAV’s (Unmanned Aerial Vehicles)

Industrial Applications for UAV’s (Unmanned Aerial Vehicles)

Date: 5.17.15

Introduction:
The following is summary of applications and some considerations for UAV’s. Our focus was on industrial applications because our industry partner was Dairyland Power. You will find the list below favoring industrial areas, however, there are many other applications for UAV’s

Industrial Applications:
  • Land Surveying-50 times faster than land based surveying. One square kilometer per day can be surveyed. Orthophotos (can be georeferenced to a known coordinate system (such as OS National Grid) and overlaid on existing data, used in Google Earth or independently), Digital Elevation Models (3D representation of terrain) and Panoramic Photos.
  • Pipeline and Chimney Inspection
  • Electrical Utility- live powerline inspection of transmission and distribution towers.
  • Thermal Inspections- chimney ducting, flares, chimneys and other process equipment.
  • Structural Inspections- surveys of industrial structures including storage tanks, elevated pipe racks, buildings, roofs, ducting, gantries and walkways.
  • Ag industry- imagery can be used for crop management.
  • Emergency Inspections- provide the information you need to make swift and accurate operational decisions.

Advantages:
  • Reduced costs – by minimizing downtime
  • No system outage – stay online and operational during inspection
  • Minimum Health & Safety issues– unmanned, battery operated UAVs reduce the need for people to be placed in potentially dangerous locations such as remove the need for people to work at height.
  • Improve decision making – more detailed and up-to-date than off-the-shelf data

Disadvantages:
  • I listed only one here, but it is a big one which covers a wide area of great importance. We have to find a way to strike a careful balance between protecting public safety, personal privacy and allowing commercial UAV’s to develop. That balance has not been attained yet.

Considerations/thoughts:
How do we protect the general public from unwanted aerial photography?
Even smaller (under 10-15 lbs) UAV’s can cause serious injury if the pilot uses control.
Battery life needs to be improved.

Inexperience as a pilot is a major cause of accidents.